TL;DR: I’m hosting a website on a 25-year-old Sun Netra X1 SPARC server running OpenBSD 7.8. The setup includes: Noctua fan mods for quiet operation,
httpdserving static HTML/CSS, OpenBSD’spffirewall with default-deny rules, and Cloudflare tunnels to expose it safely without port forwarding. The server pulls ~55MB of RAM and serves pages from my garage. Check it out live at sparc.rup12.net - because why not?
Here’s a crazy idea, can I expose and host a website on a 2001 Sun MicroSystems Netra X1 SPARC Server? Yes, yes I can. Let’s get into how I set this up.
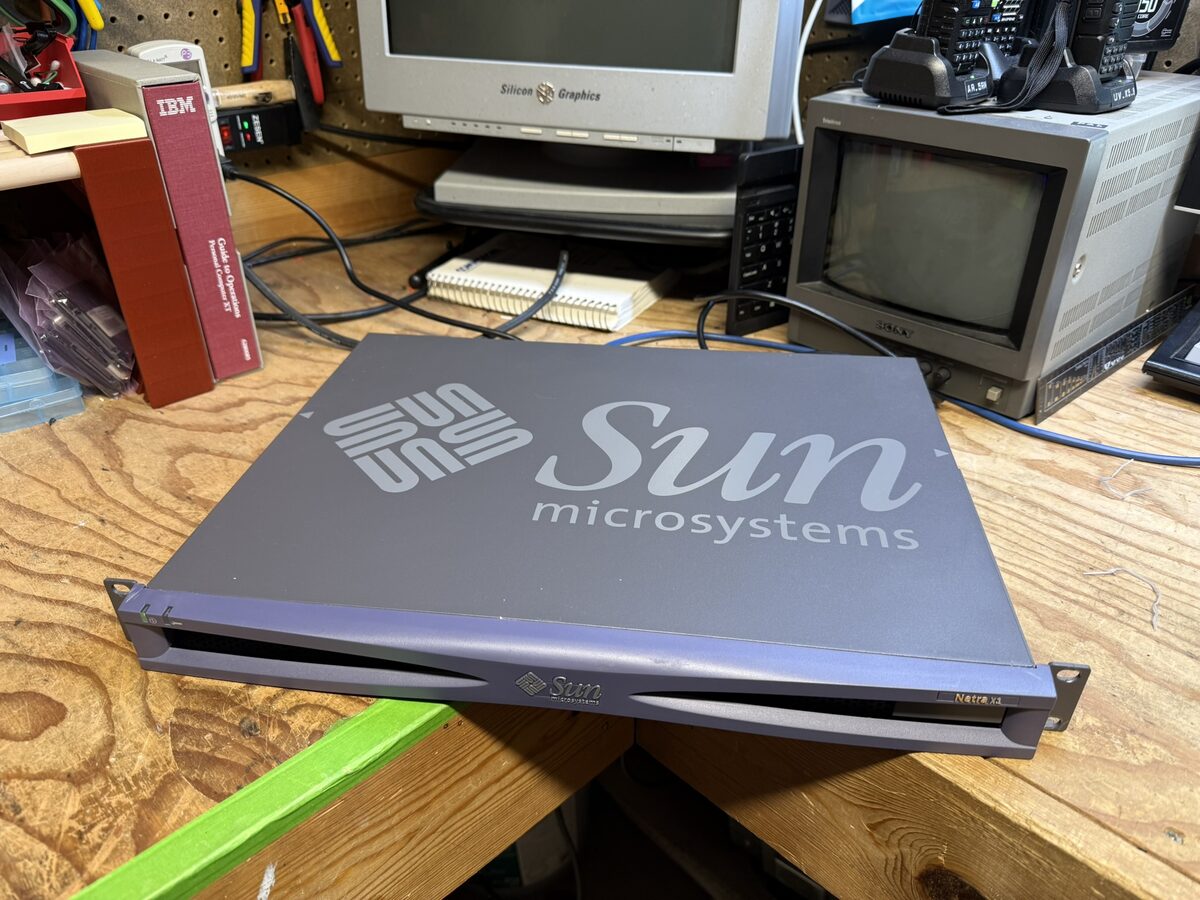
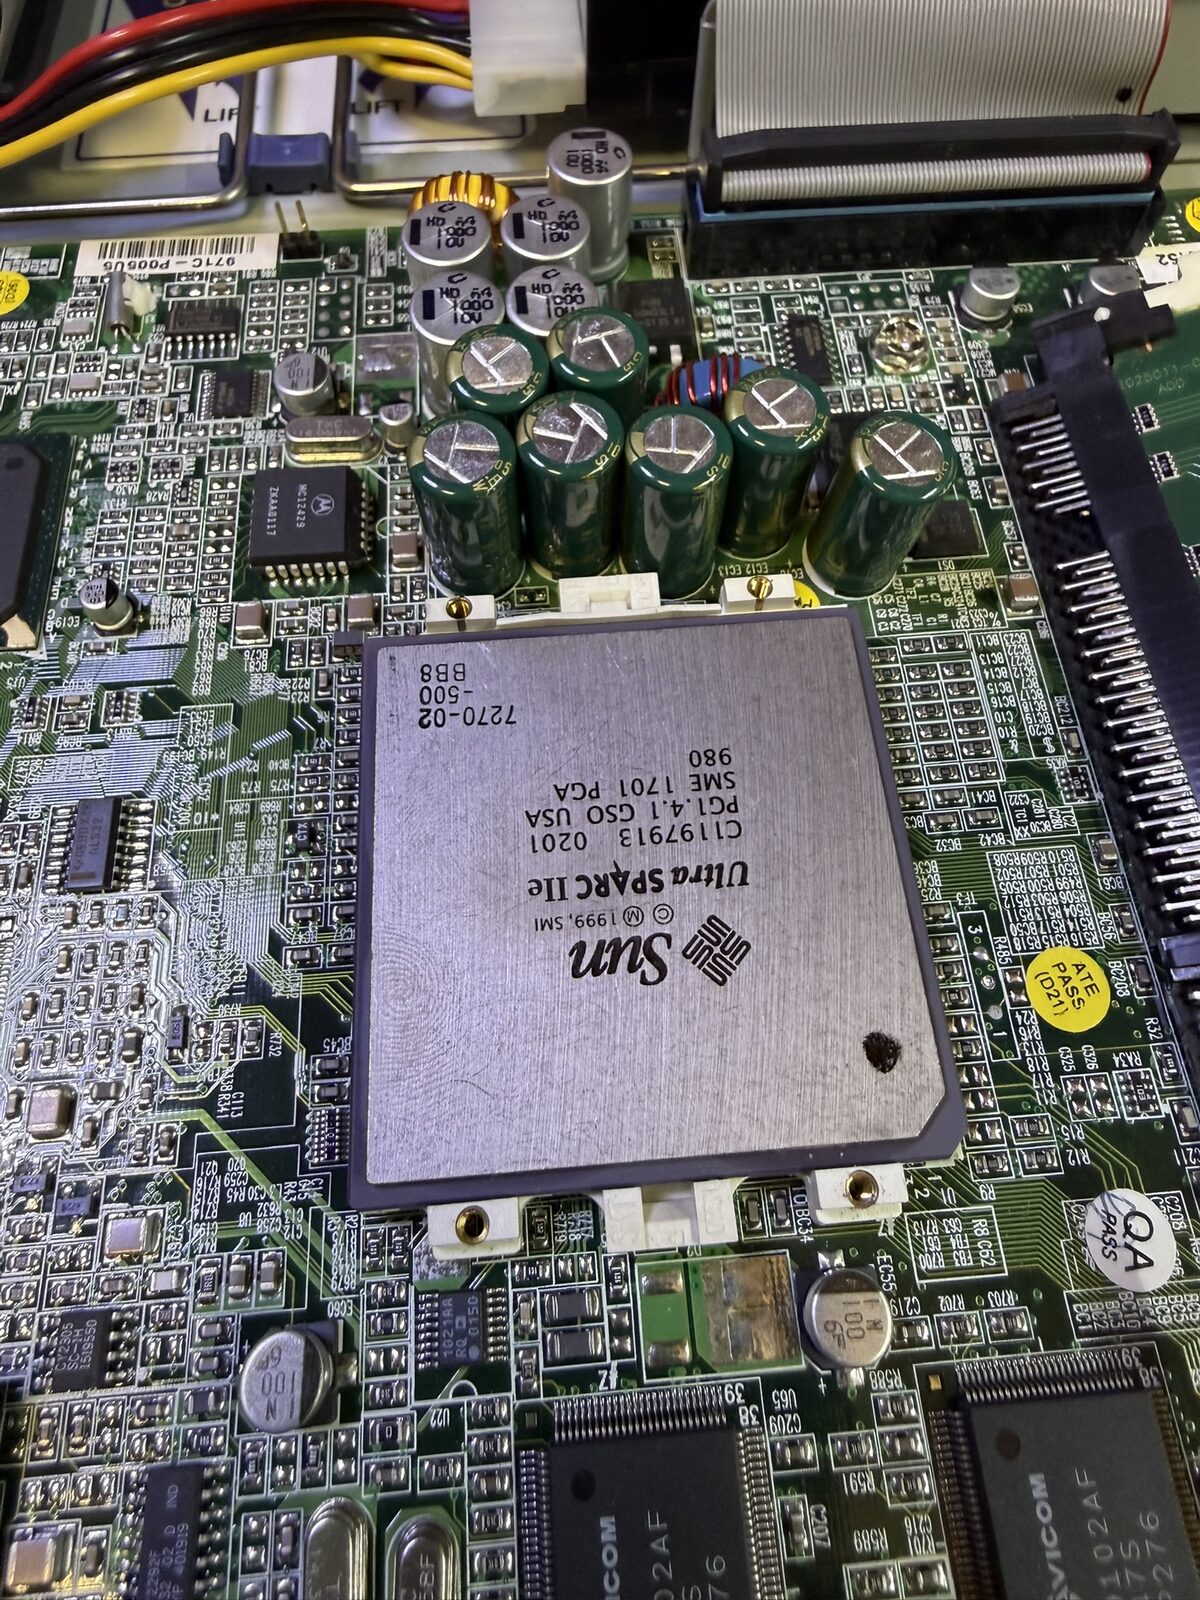
Not so long ago, I ordered from eBay a Sun Fire V100 server. But somehow, the seller made a mistake, and sent me a Netra X1. Now, these systems are quite similar, and to be honest I did not mind. (the seller did give me a discount on the next system I buy ️♥️). The Netra X1 is a more commodity grade server, this means it completely headless (no video output), and uses standard SD-RAM (ECC) and runs a pair of IDE Hard Disks. At the center of this server is a 500 Mhz UltraSparcIIe CPU and a whopping 1GB of said SD-RAM. This was a lot of RAM back then, but I guess it makes sense for its server-esque purpose.
This isn’t my first Sun hardware rodeo. I previously restored a Sun Ultra 1 Creator workstation from 1995 if you want to see where this obsession started.
Oh, and I did some HDD archeology, it seems this is a decommissioned server from Ford (the car company). I am not sure what it used to do, but the disks were obviously not wiped. Rest assured, the data is gone and both drives were formatted by me.
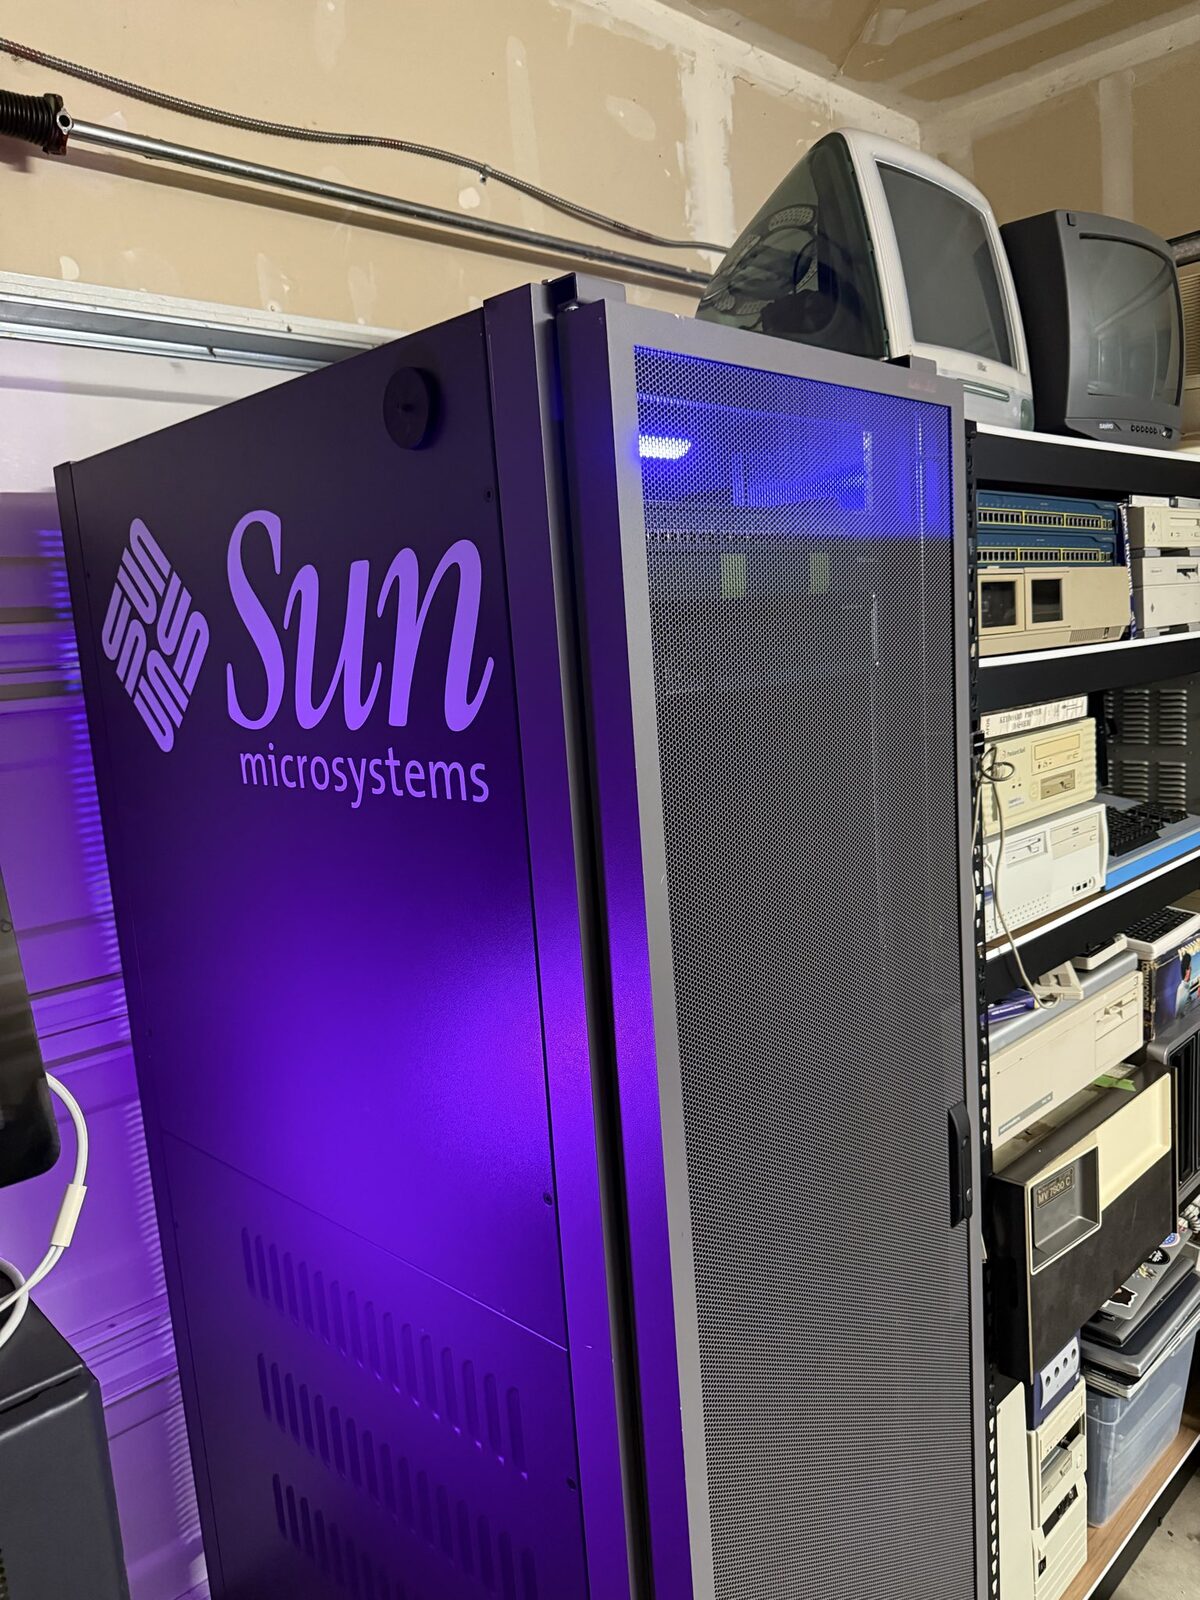
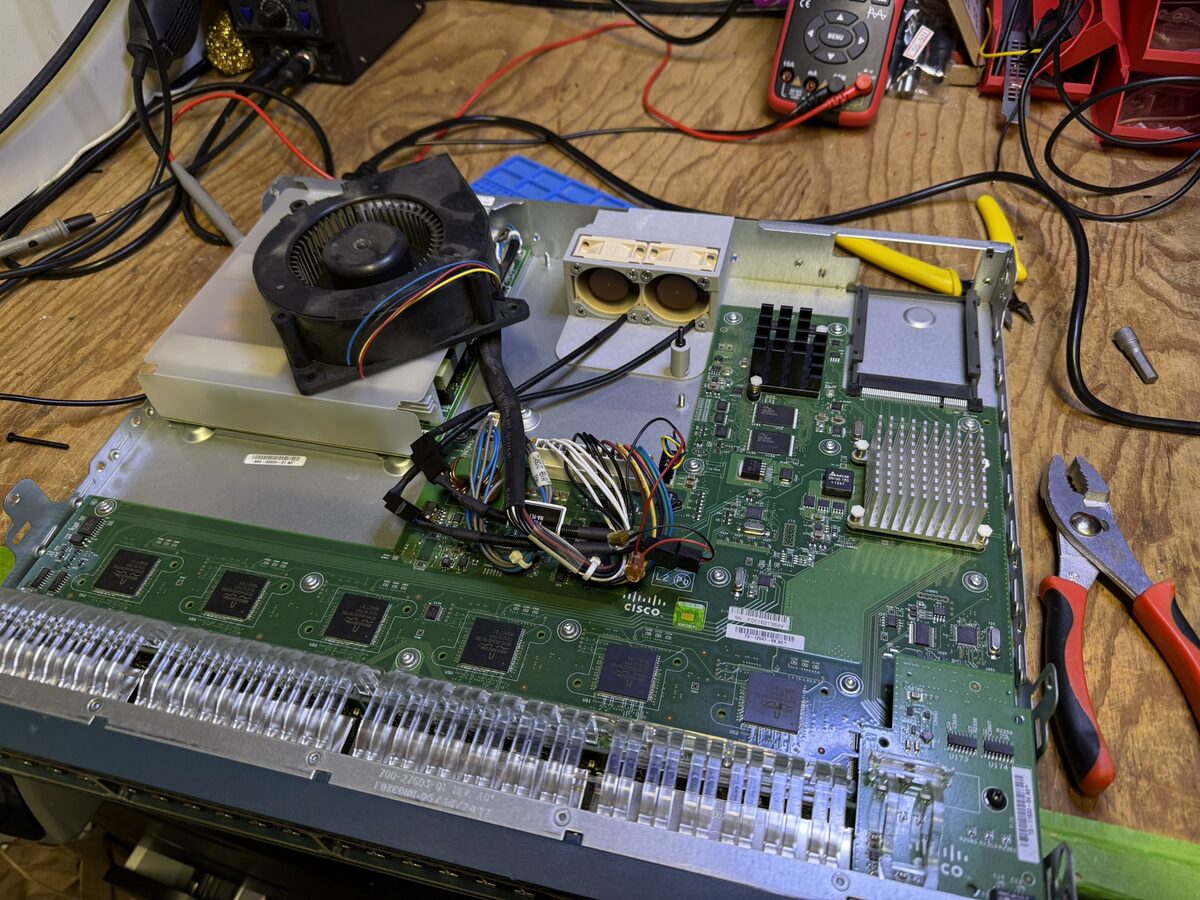
To go along with this server, I have a nice Sun rack in my garage, as well as a Cisco 2960-S network switch. However, at the time of writing, both of them are sitting on my workbench, humming along as I test some hardware modifications I made to both of them. Yes, I made some tweaks. Namely, both the Cisco switch and the Netra were quite loud. Not, aircraft taking off loud, but still loud for having them be in a place I record videos in. To remedy that, I replaced most of their internal fans with Noctua 40mm fans. For the Cisco I even had to 3D print a part to replace one big blower fan with 2 smaller ones. Now both these devices are almost completely quiet, at the cost of some higher temperatures.
To install the operating system on the Netra I had to use PXE Boot and TFTP/NFS, as it had no optical drive and it cannot boot from USB. Oh, and I will explain how I did that in a future post. While I was hoping to use Solaris here, I realized it is just too ancient. Exposing such an OS to the internet would cause all kinds of issues. I opted for the tried and true OpenBSD, as a secure and optimal choice (NetBSD was also something I was considering, but decided to go with OpenBSD due to their security-first philosophy). Let’s get into it.
OpenBSD works like a charm. Once I was able to boot the system (and run the installer), I ran into almost no issues. Even though it is running on a 25 year old system it still works rather well. Once I had OpenSSH set up, it was using around 55MB of RAM. While I am not as familiar with OpenBSD as I am with Linux, I find working on it to be rather straightforward. Package management is done via the pkg_* utility, and there seems to be a plethora of packages available even for the Sparc64 architecture (I even got Rust running 🦀).
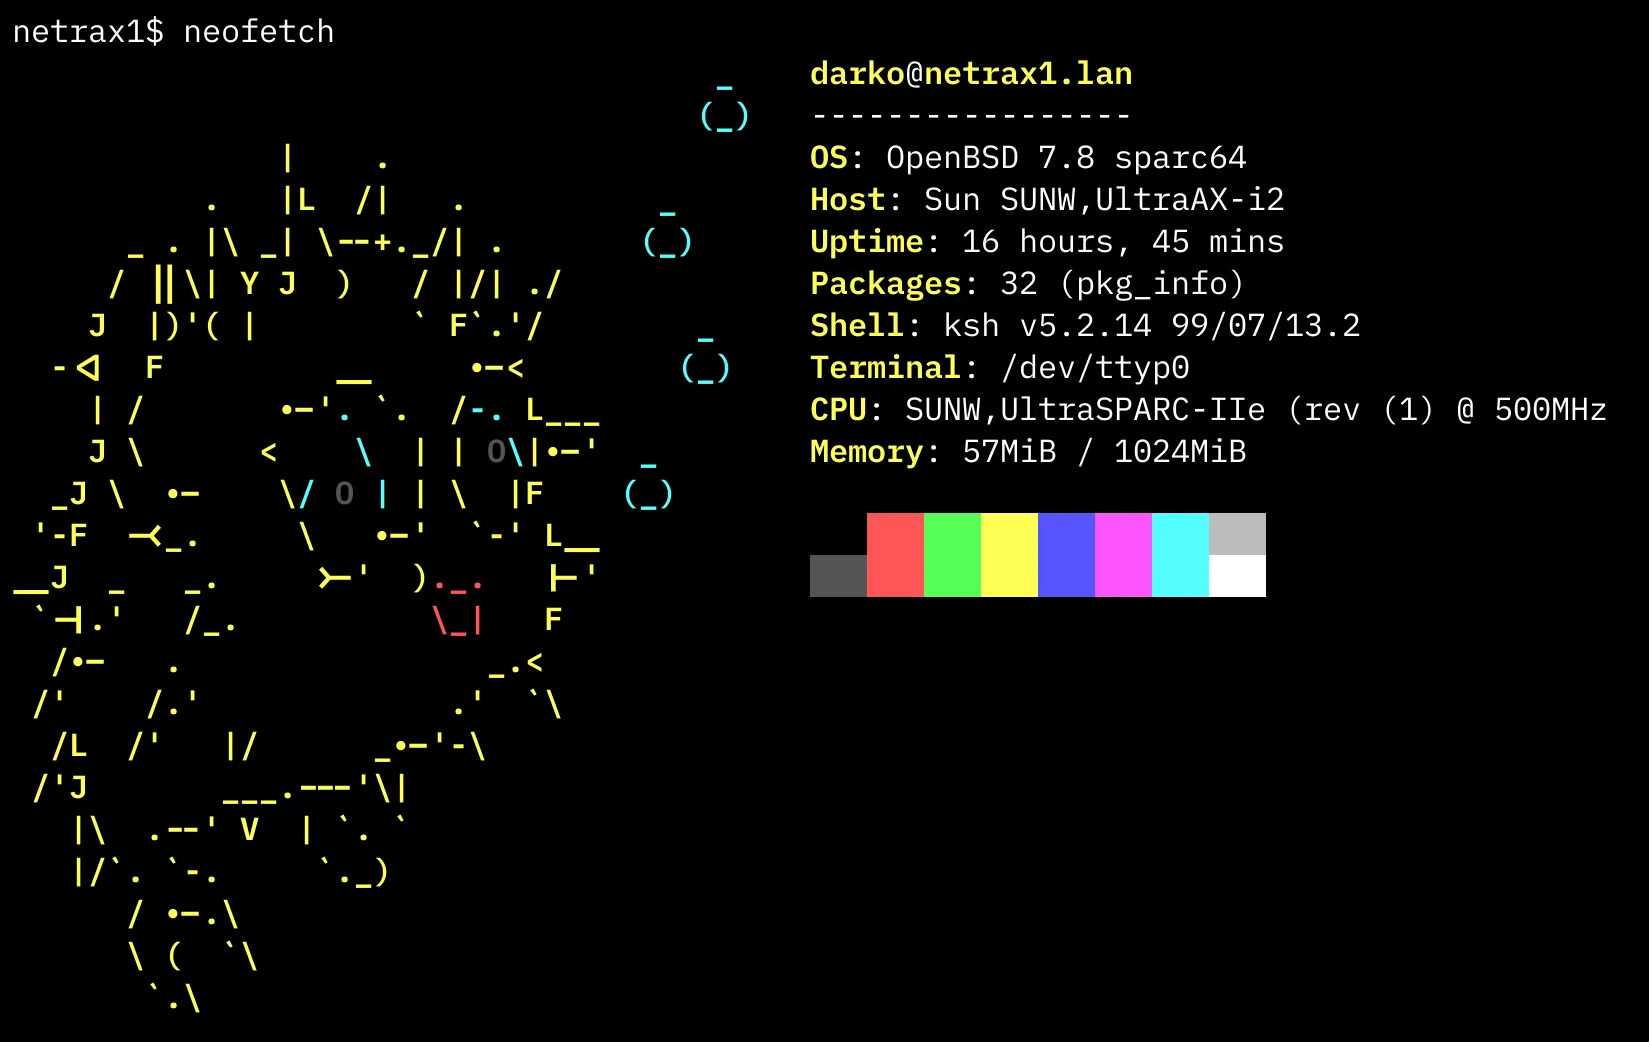
The packages I found necessary for this adventure were: git, vim, neofetch, htop, rsync. Yes, that’s it. To install the packages it is as easy as running:
pkg_add neofetchThe web server of choice here was httpd, even though nginx was available (and I was more used to that one), httpd seems to be a common choice on OpenBSD so I went with that. As I was a bit unfamiliar with the configuration of the server I turned to, wherever else, but my coding assistant. Working with Kiro I worked out the httpd configuration file in /etc/httpd.conf and made a few tweaks (removed directory listing). And set it up so that I just use only the features I need. No CGI, no PHP, no caching. Oh and, the httpd package already natively comes with OpenBSD. 👏
types { include "/usr/share/misc/mime.types" }

server "default" {
    listen on * port 80
    root "/htdocs"

    # Disable directory listings
    directory no auto index

    # Drop requests for hidden files
    location "/**/.*" {
        block return 404
    }
}
What’s great about httpd is that it’s www user is chrooted into /var/www so it makes it slightly more secure. And since I am exposing a server in my house, I need it to be as secure as I can.
One rcctl start httpd later, and I have a web server running! 🥳 Huzzah! Now, it’s time to build my web application!
To make this plausible (and secure), I wanted to make the application as simple as possible. So, basic HTML and CSS it is! It also fits the 2001 aesthetic, back when The Internet was a lot more human and marquees ruled the roost. The web page I decided to make is a simple about page, pulling inspiration (and content) from my actual about page. While I could easily cobble up an index.html together, after all it’s just HTML and CSS, and I’ve been writing that for almost as long as this server is old. I’ve decided to test out something new.
Recently, more and more coding assistants have implemented a feature where they can call up a sub or a specialized agent to do certain tasks. The reasoning behind this, as far as I am able to figure out is that you do not want to give your main agent all the tools, MCP servers and prompts. We’re still dealing with prompt economics after all. And this sub agent can have additional special instructions on how to perform it’s tasks. My main agent (I call it oxide) is configured in such a way that it has access to tools and prompts so it is able to help me learn and write real good Rust code. But it has nothing special that can help it work with front-end web creation. Say hello to front-end-specialist.
Now this agent has access to a few MCP Servers and a wonderful prompt that tells it what kind of front end web I like. Simple, as vanilla as possible, minimal JS, and htmx where possible. So how does this work? Well the workflow is the following:
I tell my main agent (oxide) that I am building a retro inspired server (with all the Sun/OpenBSD details) and that I want to build a simple index.html that would use the data from my about page as well as would outline a bit from this server. Oh, and it would show the output from neofetch as content in a <pre> tag.
Then, the main agent would fetch the data from my page, and prompt the front-end-specialist with the information and instructions. As well as the request to write down the index.html in the current directory.
And just like that, we got this. Wow!
Okay, so how do we get this thing to the internet? Port Forwarding? Dynamic DNS? IPv6? Not a chance! I’m not exposing an IP address of a server in my garage to the internet. 👀 There must be a way to, proxy this! I was thinking of some sort of reverse proxy in the cloud, setting up a server to do something. But, then I’ve learned of something wonderful! CloudFlare’s tunnels 😍.
Simply put: This is a way to create a tunnel between CloudFlare and a system running the cloudflared daemon. This creates an outbound connection, so technically I am not exposing any ports at all. The biggest security benefit here is that there are no inbound connections to my network.
Yes, there is a however. The cloudflared daemon does not really work on Sparc64, and while it is open source and written in Go. I cannot really compile it myself there, as Go (unlike Rust) does not support the Sparc64 CPU architecture. So how do I get this daemon running on the Netra. Well, that’s the neat part, I don’t.

CloudFlare’s tunnel daemon also supports the ability to forward traffic to a remote host. This means I can install cloudflared on some more modern host running on the same network, and just forward traffic to the Netra. This can be something as simple as Raspberry Pi, but… wait! I have a entire Proxmox setup running at home. I’m sure I can make a container to do just this. And after a quick search through the Proxmox LXC helper scripts I found exactly what I need.
Just run this command in the shell of your Proxmox host, and it will install the cloudflared daemon, and everything it needs to be running.
# This goes in the VM Host shell
### 🚨 WARNING: Never run Bash scripts of the internet without checking, even if it was me who shared them
bash -c "$(curl -fsSL https://raw.githubusercontent.com/community-scripts/ProxmoxVE/main/ct/cloudflared.sh)"
### 🚨 WARNING: Never run Bash scripts of the internet without checking, even if it was me who shared them
To configure the daemon, you need to edit the configuration file in /usr/local/etc/cloudflared/config.yaml:
tunnel: sparc # Name of the tunnel
credentials-file: /root/.cloudflared/<UUID>.json
ingress:
- hostname: sparc.rup12.net
service: http://192.168.1.248:80 # The Netra X1
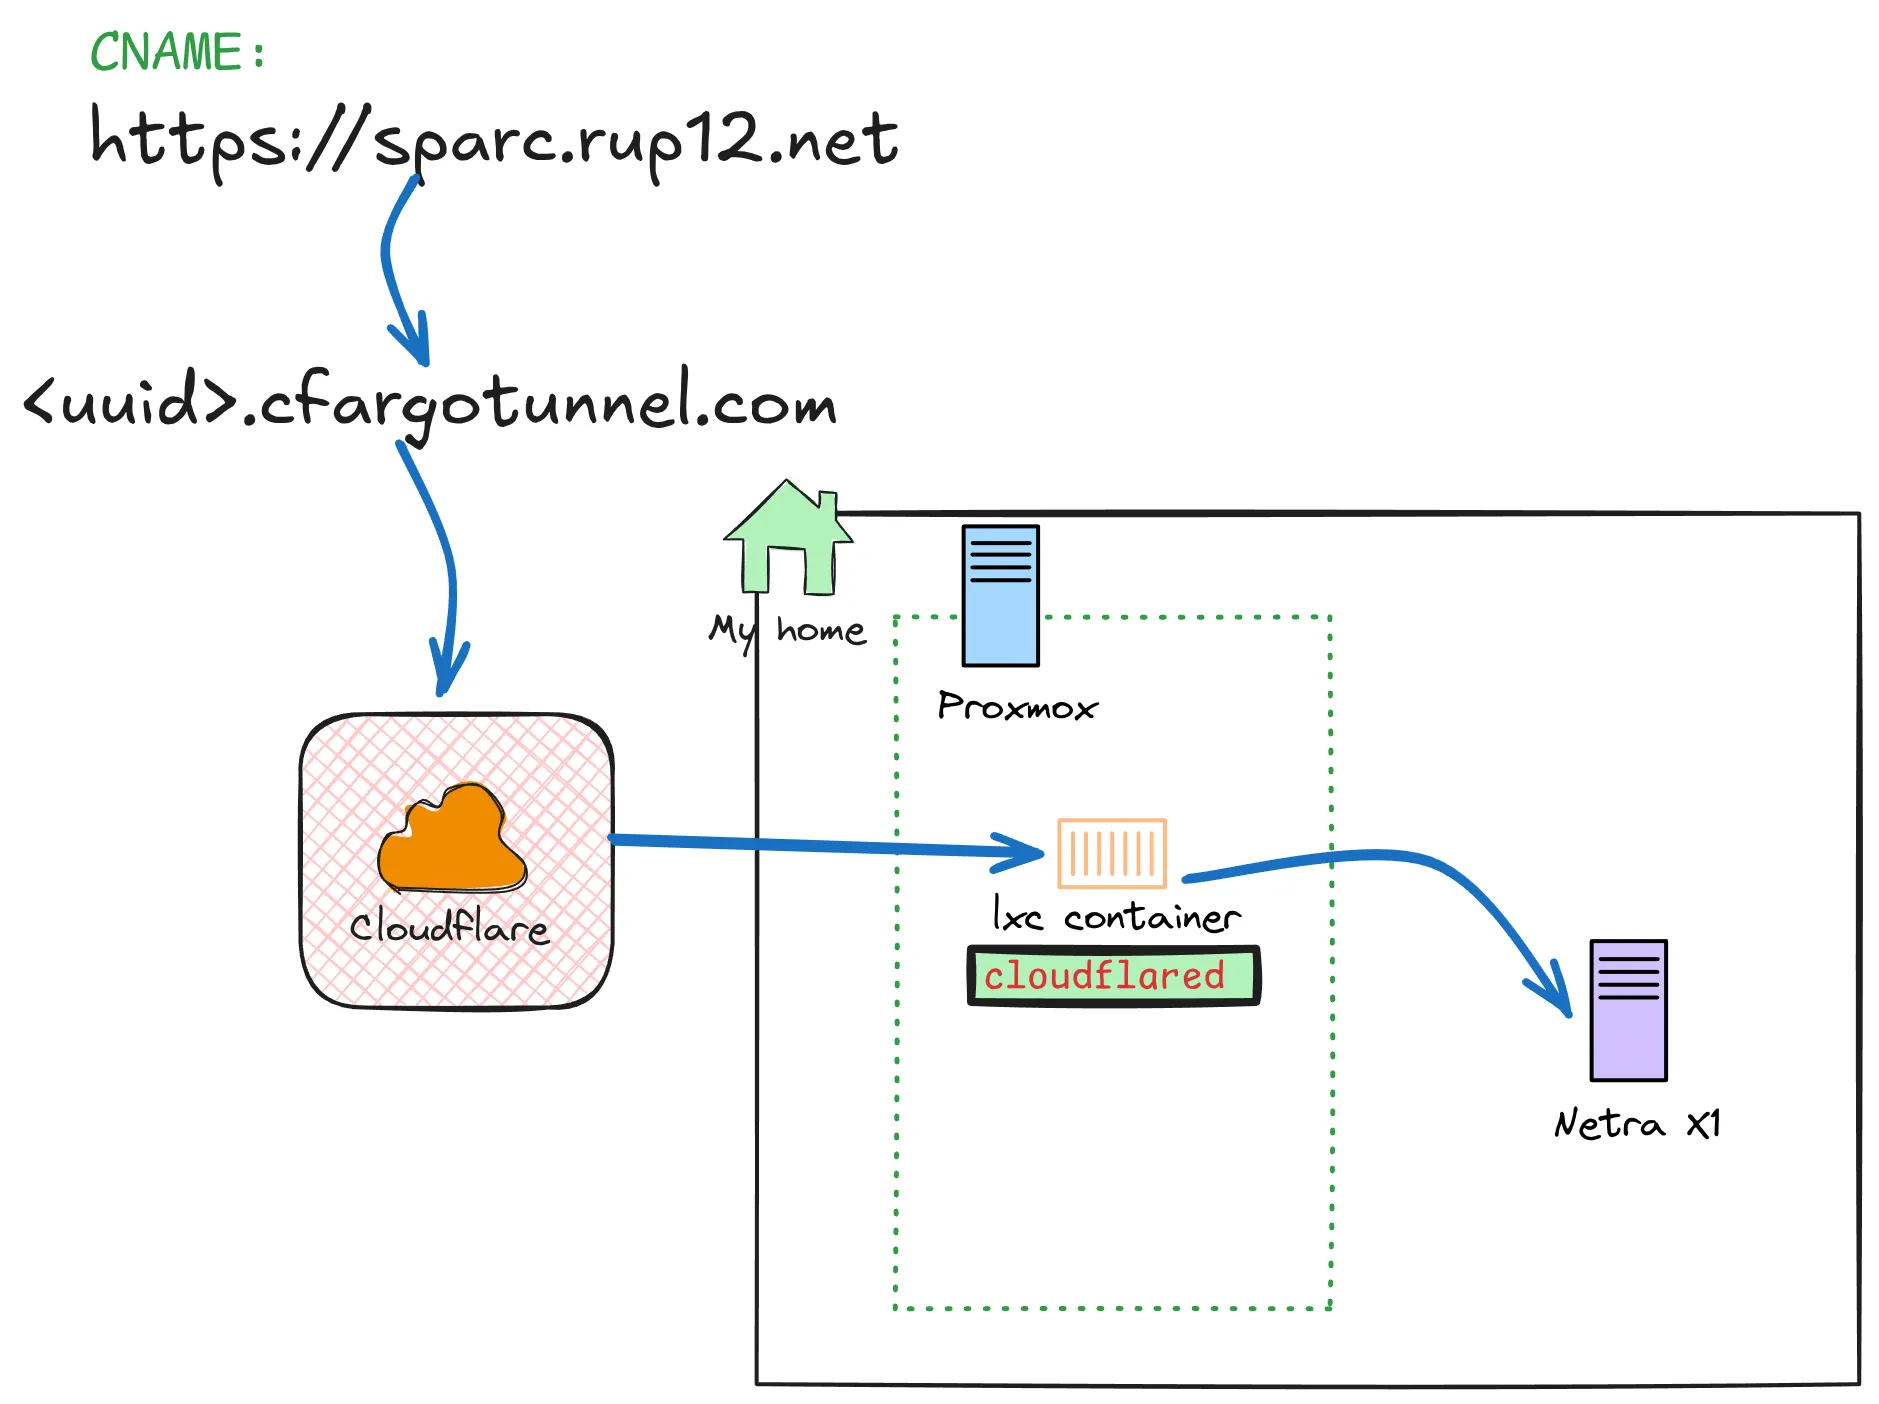
- service: http_status:404Here I just forward all traffic to 192.168.1.248 which is that Netra server, on port 80. Boom 💥 done! I’ll leave instructions from my friends over at Cloudflare on how to set up tunnels, but this is rather straightforward. Lastly, I need to configure a DNS CNAME to point to a specific URL that features the UUID of my Tunnel: <uuid>.cfargotunnel.com
In rather simple terms, here is how this architecture looks like:
I love OpenBSD’s security-first philosophy. So to play that part I did the following to improve this servers security.
Since this server is exposed to the internet, I implemented several layers of security:
pf with default-deny rules. Only SSH from my local networks (192.168.1.0/24 and 10.0.1.0/24) and HTTP exclusively from the Cloudflare tunnel container (10.0.1.210)httpd, sshd, and essential system daemonshttpdYeah, that’s it. You can go and see the website RIGHT NOW 👏 (unless it’s down for some reason). Is this something the world needs? Not really. Is this something I need? absolutely! I have a few more things to fix up, namely figure out how to track the visitors on my website (I want to see if I actually get some hits), and put the server back in the rack so it can live out it’s days where it belongs!
Here: